Blog - Creative Container Gardening for Beginners
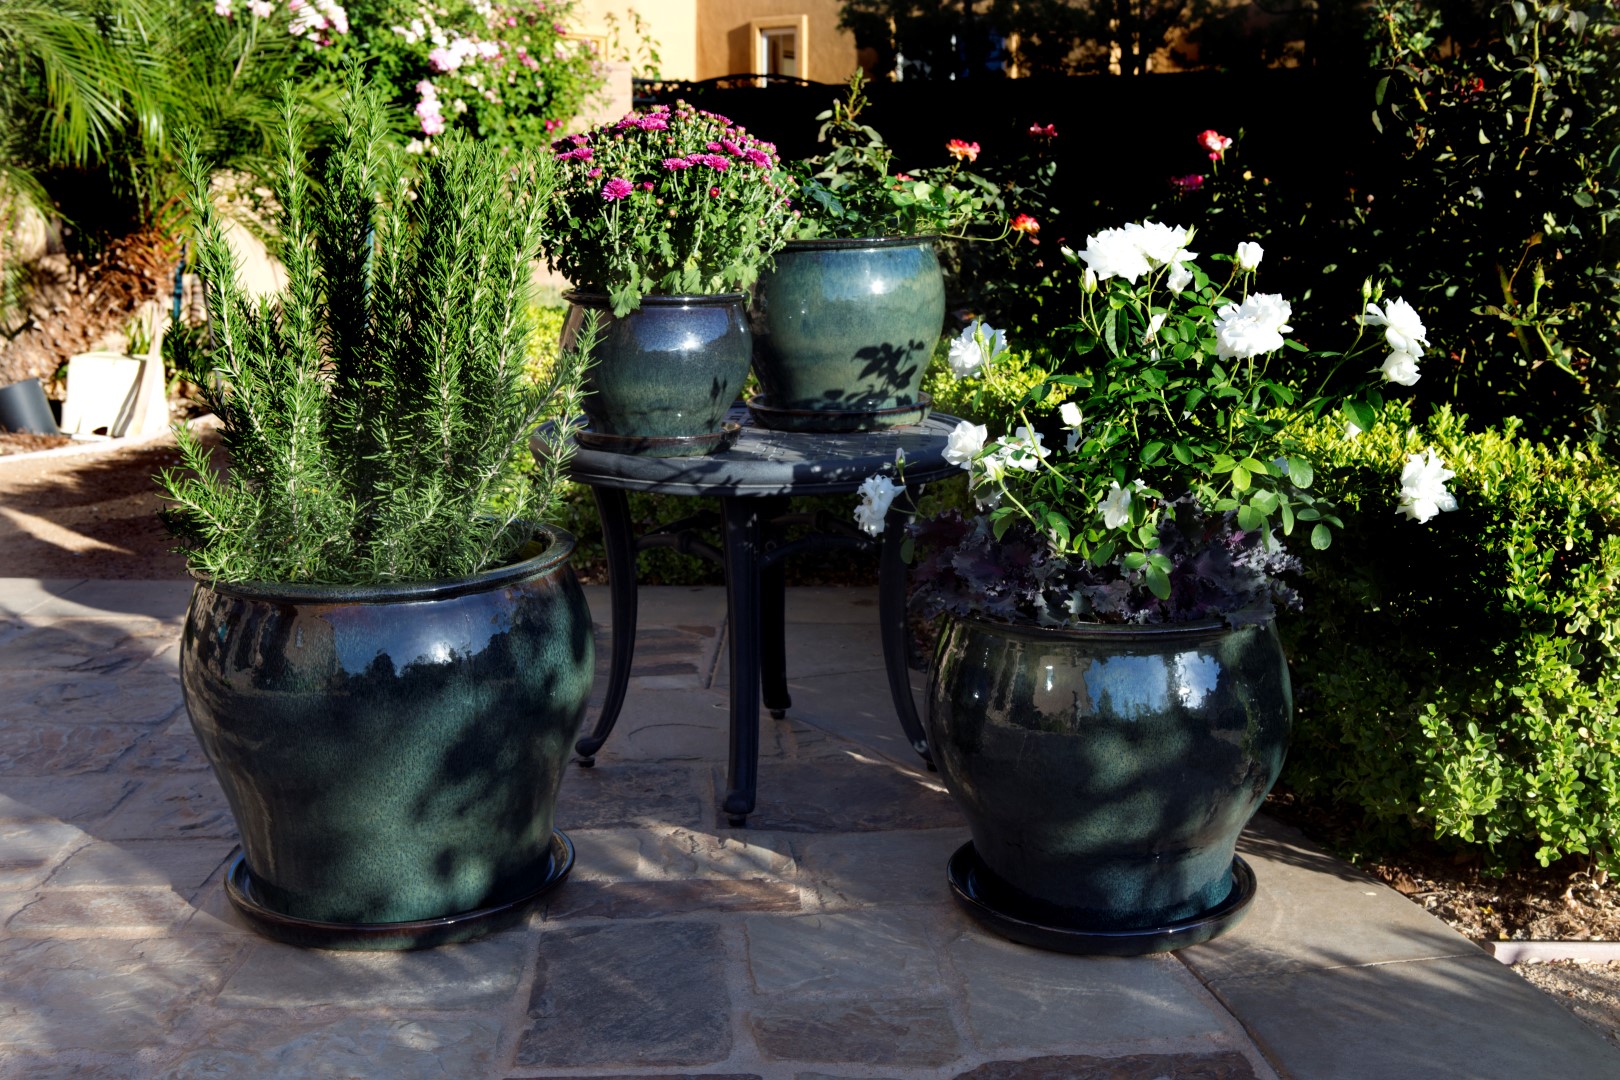
Creative Container Gardening for Beginners
Maybe you’re worried you don’t have a green thumb. Or you’ve cared for pre-potted plants, but haven’t tried to plant your own.
Whatever it is, we’ve got you covered with everything a beginner needs to know about creative container gardening.
Before we start, here’s your shopping list:
- Container
- Plants
- Small gravel
- Potting soil
- Small piece of landscape fabric
- Slow-release fertilizer
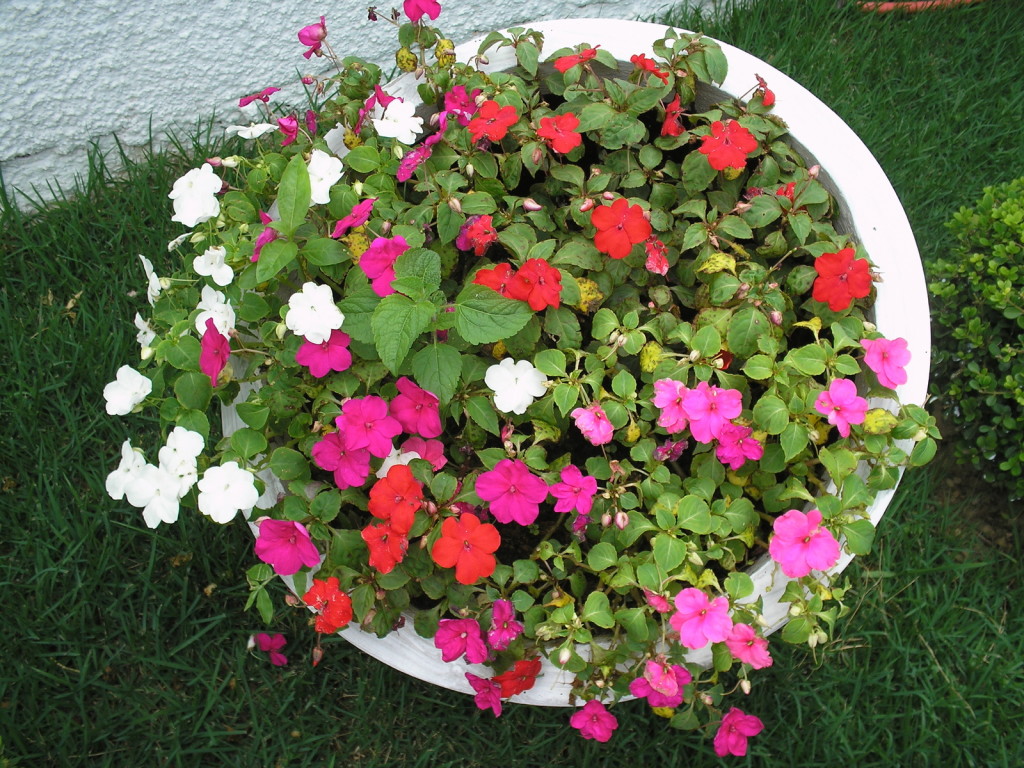
Choose your container
You’ll also want to make sure you have a tray to catch the water! Even for outdoor planters, drained water can stain wood decks or leave water marks on patios.
You can choose detached or attached saucers (for a more streamlined look). Remember to not let water accumulate in the saucer. Best to empty weekly by gently tipping the planter over and letting the water run out.
- Size
- Material (ceramic, resin, etc.)
- Color
- Decorative features
- Silhouette/shape
While containers are sorted by indoor versus outdoor in stores, the main difference between them is size. Any small indoor container could go outdoors in a safe place (say, on a picnic table) and any large outdoor container could reasonably go inside. However, an attached saucer is best for indoors, and you’ll want to go one step further to protect surfaces with felt or rubber pads.
Our Trendspot planters come in a variety of styles based on the top home design trends. Picking out containers is a really fun shopping experience.
It’s worth knowing that for healthier plants allow room for roots to grow, so go up one size larger than what you think your plants would need. Find a container that is both two inches wider and two inchesdeeper than the plants you’ll place inside.
Pick your plants
The thriller, filler & spiller method
Thriller
Filler
Spiller
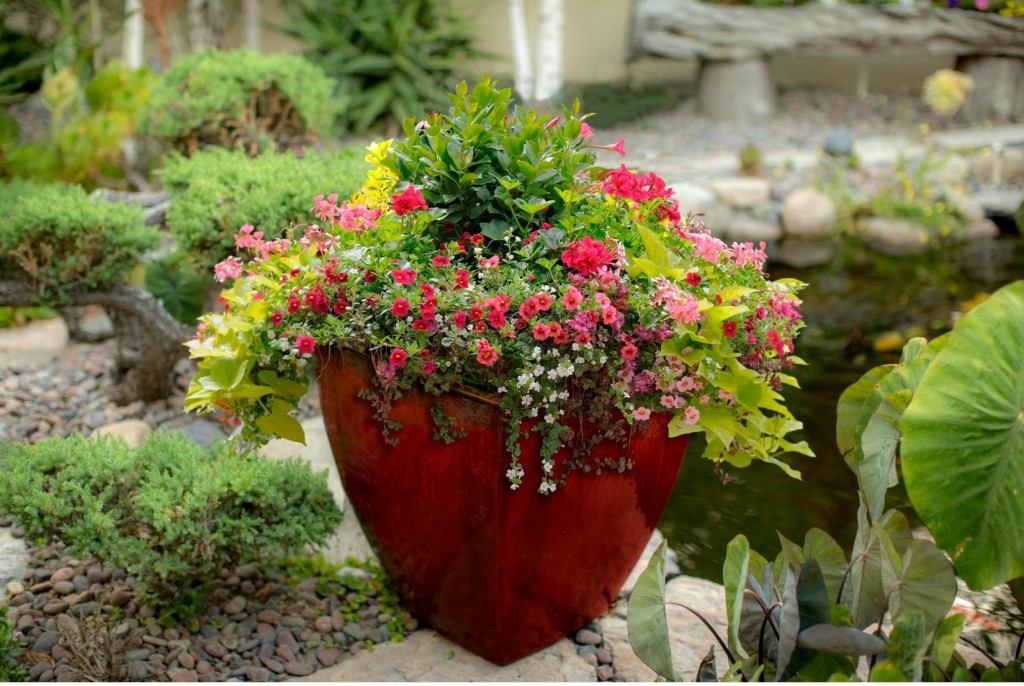
Your spiller is the plant that cascades over the side of the container. As a beginner, you may not immediately recognize all of the options available for spillers, because they may only be a few inches tall to start. Golden creeping Jenny has a nice bright color and is always easy to find. The creeping Jenny variety in Midnight Sun is a common option for a deeper color. Nasturtium is also a widely available choice for a spiller.
Your own unique creation
The thriller, filler & spiller method really works. The reality is that you can put together whatever creative combination speaks to you.
In other words, rules were meant to be broken.
But not all rules.
Only combine plants that require either shade or sun. And also check that the water that they require is relatively similar. Succulents next to pansies wouldn’t be a winning combination.
Try combining a dark plant with a white ceramic planter or warm-toned flowering plants in a blue urn. And have fun!
Prep the container
Once you have a general idea of the desired layout, it’s time to prep the planter.
Start by placing a small piece of landscape fabric (a four-inch to ten-inch square depending on the size of your container) over the drainage hole. Then place a handful or two of gravel over the fabric.
This will keep the soil in the pot while promoting drainage.
Another solution to keep soil from leaking is to use broken pieces of ceramic. Experienced gardeners have all dropped a pot or two, but if you’re just beginning, you likely don’t have any broken bits lying around. So plan on getting a small swatch of landscape fabric.
Next, add the potting soil loosely, filling the pot half way to two thirds full and turning the soil with a small spade to break it up.
Ready the plants
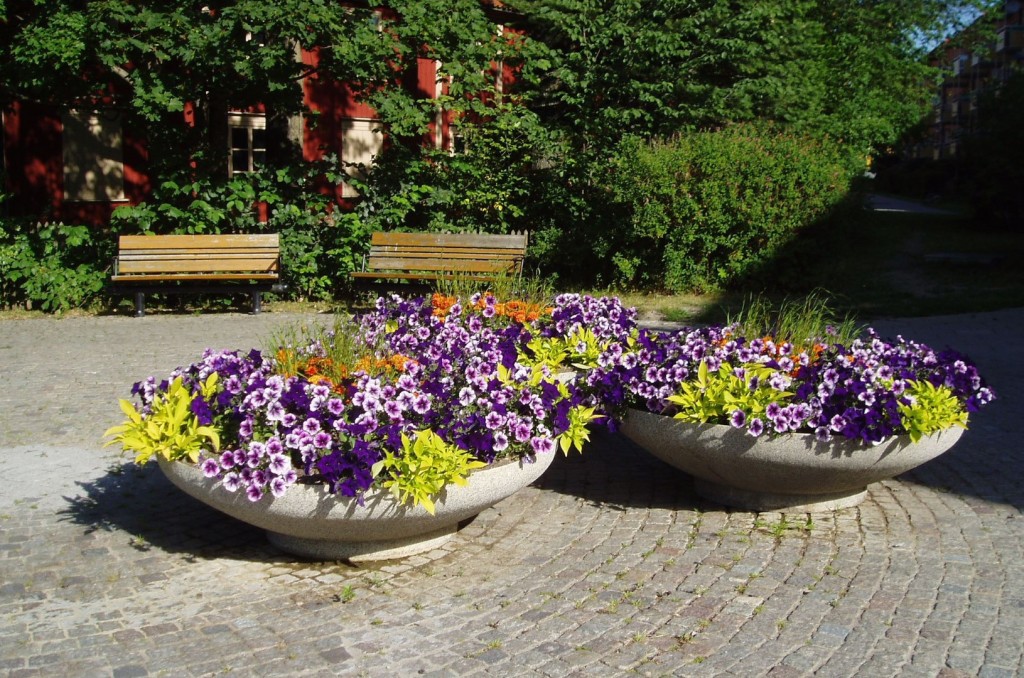
If you want your plants to grow healthy and live longer, it’s best to give them some breathing room. Keep a little bit of space between each one, and the plants will fill in the space within a few weeks—and grow stronger roots than if you’d stuffed it full from the start.
Before you plant, you can dead head if necessary. If you do trim any wilting flowers, don’t just cut off the flower head, but trim all the way to the joint.
Next loosen the roots so they aren’t growing upwards or in a circle. If the roots are really tight, you can even pull some from the outer layer and continue loosening.
Start planting
Arrange your flowers and foliage exactly how you want them, settling them gently down into the soil. Be sure that all of the plants are at the same level.
Add a little more soil to cover, keeping the soil line an inch or two below the container rim.
Next you can add a slow-release fertilizer of your choice and work it into the top layer of soil.
Adding another thin layer of small gravel over the top helps to keep the soil in when watering, and can even deter bugs and snails.
Take continued care
Container gardening beginners often wonder how they will keep their beautiful creation alive. Here’s a tip from a no non-sense gardener:
“Pay attention.”
You can read every gardening book under the sun, but the only way to truly care for plants is to check in on them regularly, preferably every day, and see how they’re doing. You’ll soon form your own connections between frequency of watering, spaciousness, etc. and plant health.
Another pro tip is continued fertilization. Don’t stop after the first round of slow-release. Instead, add a water-soluble fertilizer two months after planting and follow up with more fertilizer each and every week.
What are your tips for container gardening? How do you get creative with your combinations? Let us know in the comments below!
No Description

Leave a Comment
You must be logged in to post a comment.