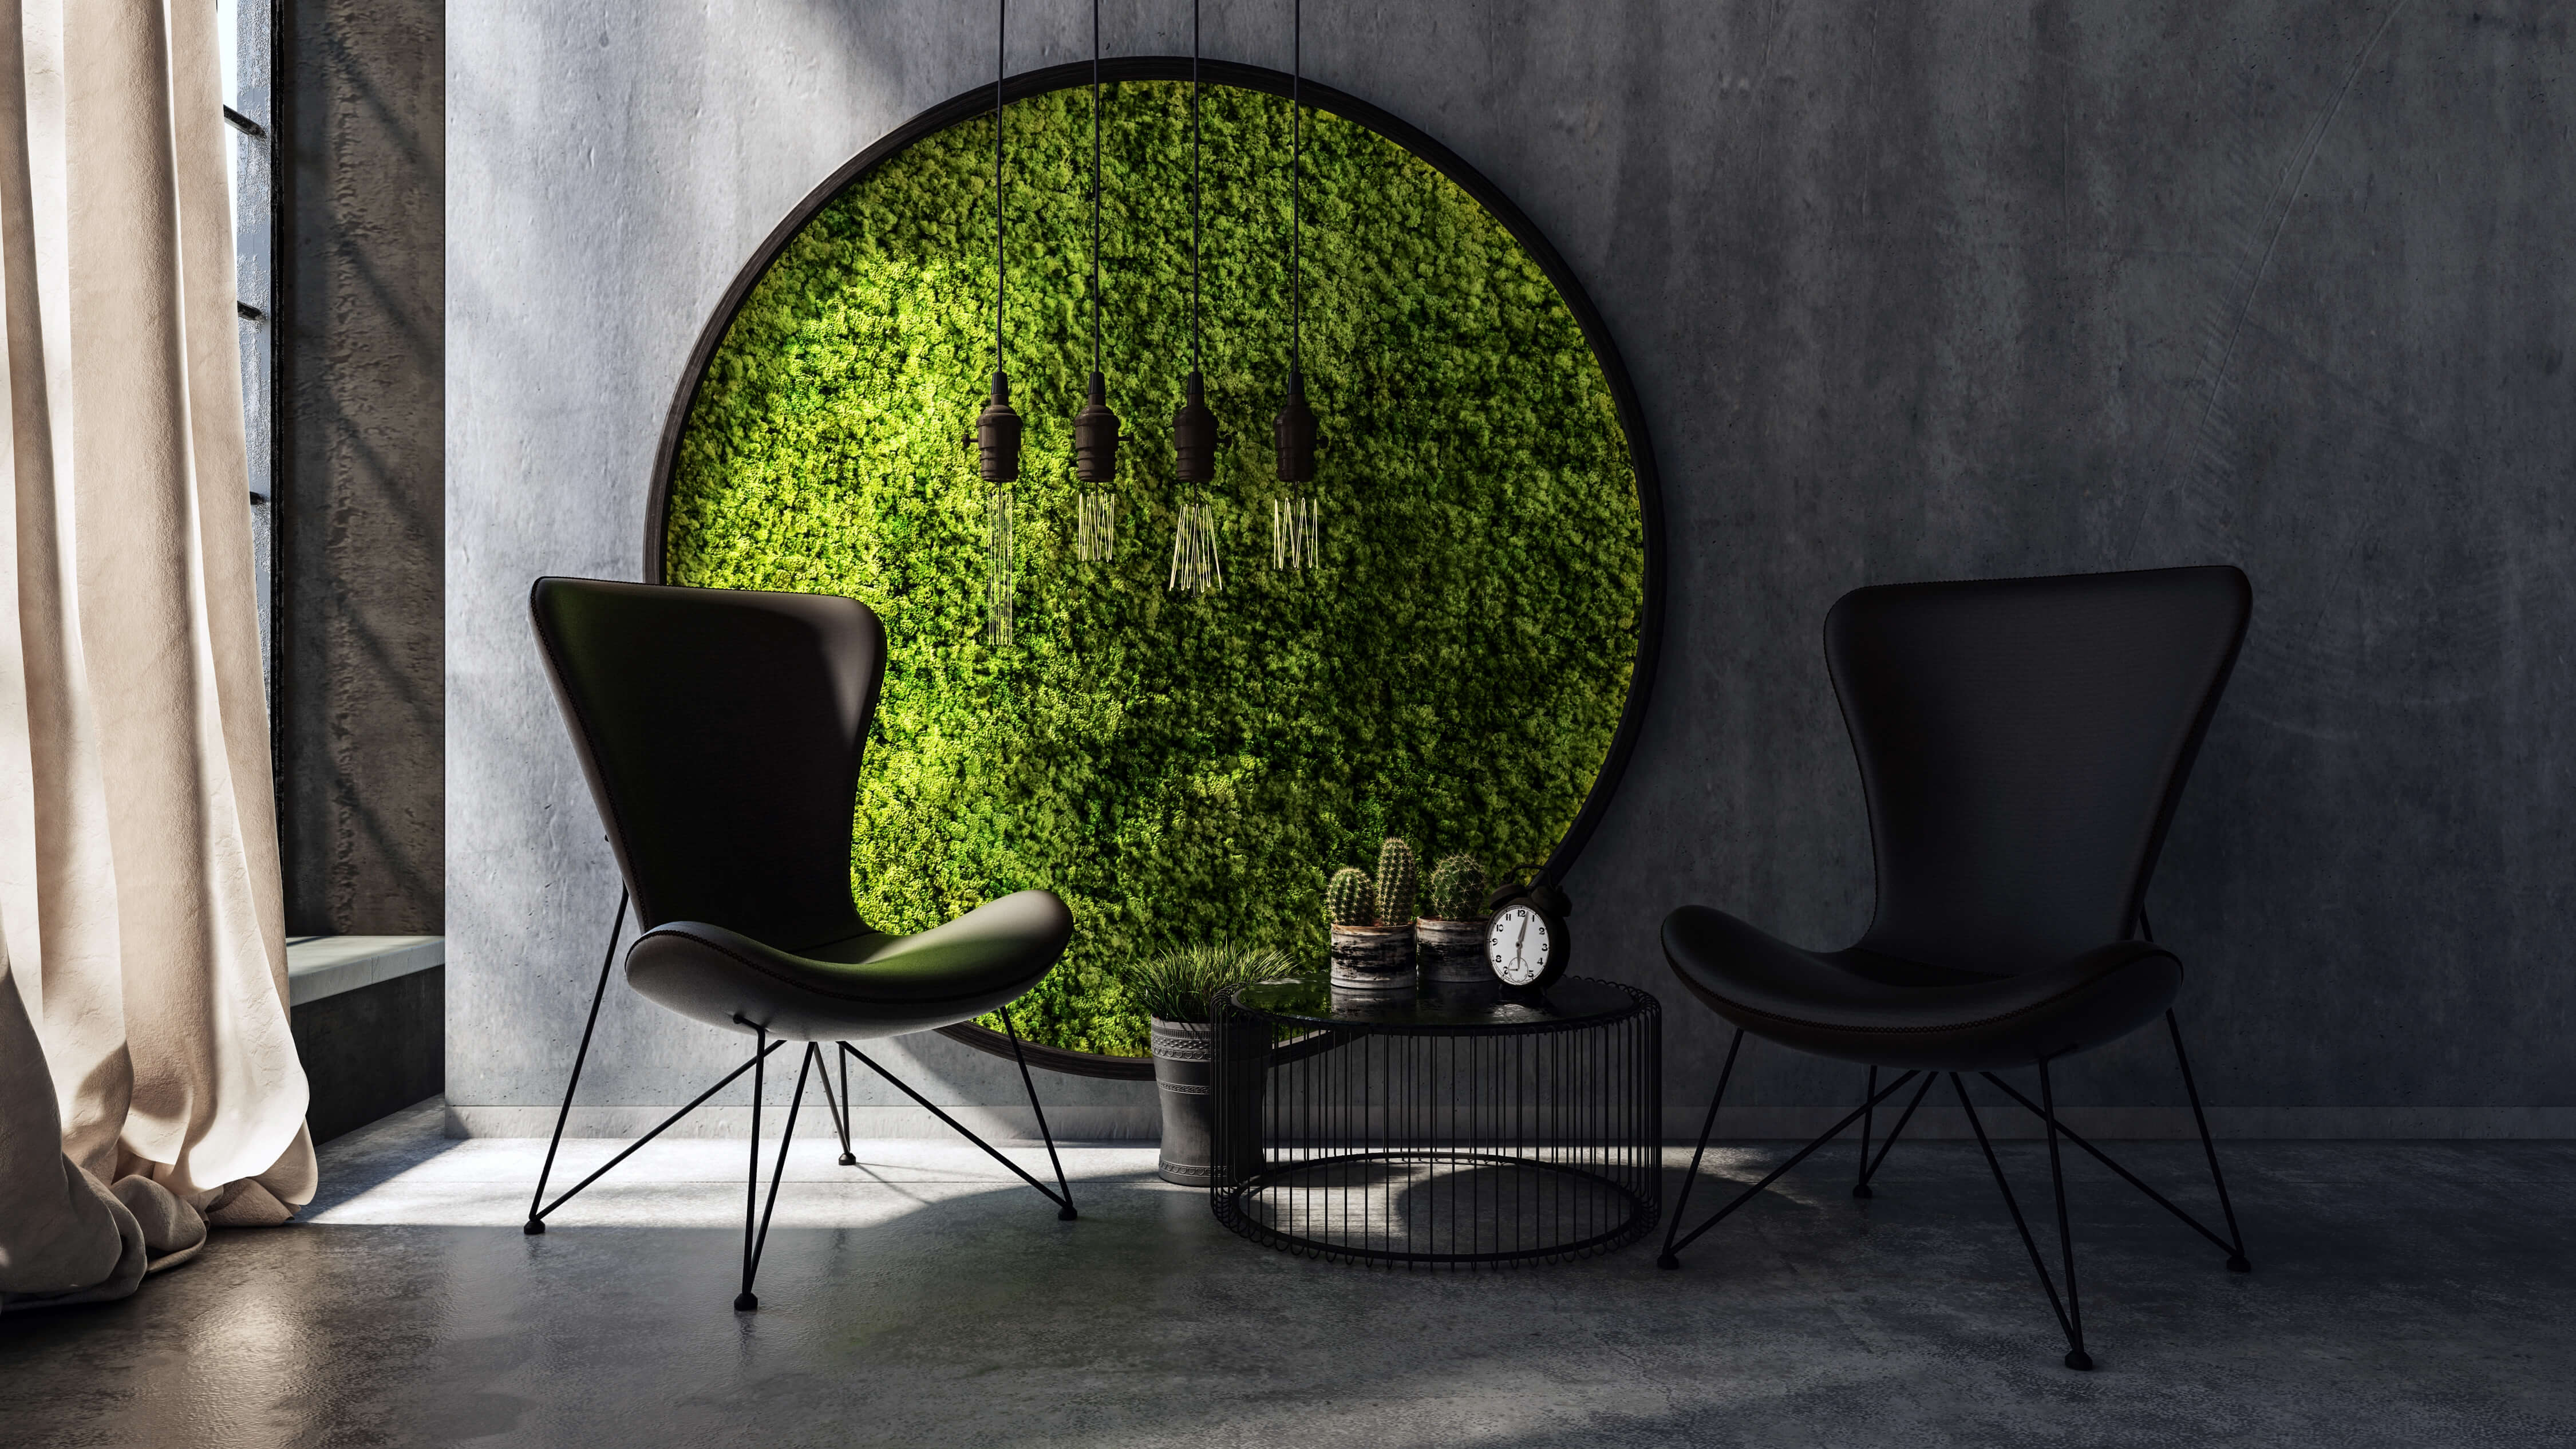
Blog - 5 Steps to Create a DIY Moss Wall Garden

Moss wall gardens are a beautiful combination of living plant and artistic masterpiece.
If you’ve been eyeing this trend and are ready to add a moss wall garden to your home, then read on for our simple DIY guide.
First up, we’re going to let you in on a little secret. Not every moss wall is alive…
1. Choose the type: living, preserved, or mixed
That’s correct! Many of the gorgeous moss walls you’ve been ogling on Pinterest and Instagram aren’t actually alive. And there’s a very good reason for that.
Living moss walls require constant moisture, which can be damaging to the walls they are displayed on. So, unless you’re working with an architect or engineer on this, we suggest that you:
- Hang a living moss wall outdoors only
- Hang a preserved moss wall indoors
A preserved moss wall is certainly the easiest to create. You can even create a mixed piece (alive and preserved), by adding air plants or succulents to your preserved moss wall. These plants don’t require much water, so you won’t run the risk of damaging your walls.
2. Choose or create a frame
Once you’ve decided on the type of wall you’re going to create, it’s time to get a frame.
For a preserved moss wall, you can attach plywood to the backside of any frame. For a living wall, it’s best to get a soil-less garden wall kit. And for a mixed wall, you should choose a plywood base, assuming you’re adding a few living plants to your moss wall.
3. Choose your plants
Now it’s time to pick your plants! Head to your local craft store or nursery for the following:
Preserved moss
- Mood moss
- Sheet moss
- Reindeer moss
Dried accessories
- Driftwood or dried bark
- Sponge mushroom
- Dried twigs
- Dried seed pods
Living plants for decoration
- Air plants
- String of hearts
- Pothos
- Bromeliads
Living moss (outdoor only)
- Prairie sphagnum
- Common smoothcap moss
- Broom forkmoss
- Leucobryum moss
If you’re making moss art for outdoors, there are dozens of species of living moss. Choose the right one for your level of sun or shade.
4. Assemble
Time for the fun part! When working with preserved moss, this couldn’t be simpler. First, use a staple gun or wood glue to attach the plywood to the frame. Then get creative and imagine how you want the elements arranged. Create your own piece of abstract art, combining different elements, textures, and colors together. Use hot glue on dried elements and preserved moss.
If you’d like to add living plants to your moss wall, then you’ll need to create a pocket with sheet moss. Simply glue the bottoms and sides of a square of sheet moss and leave the top open. Then you can stick air plants and bromeliads in there. (It’s important to be able to remove them so you can water them without damaging the wall.)
Living moss walls are all a bit trickier to assemble. You typically need to plant them in the medium or soil-less kit lying flat on the ground first and then hang the piece once the moss is established.
5. Maintain
Preserved moss walls are so easy to maintain. You hardly have to do anything! Because the moss is dry, you don’t have to water it at all. To keep your art piece looking beautiful, add new pieces of moss if any of them fall off or begin to lose their luster.
For any living plants, such as air plants or succulents that have been included in a moss wall will need to be lightly sprayed or removed from their moss sheet pockets, watered, and then placed back.
A little bit of glue and a lot of creativity are all it takes to create a stunning moss wall. Let us know how it goes in the comments below!
No Description
Leave a Comment
You must be logged in to post a comment.